ElectricalEquipmentCircuit Circuit Diagram
BlogElectricalEquipmentCircuit Circuit Diagram In other words, if we want a function generator circuit with adjustable amplitude and an output buffer, we need to make a few changes to the previous circuit, which yields the circuit shown below. This circuit incorporates an amplifier circuit, IC2 TL082. 1) Using IC 4049. Using only one low-cost CMOS IC 4049 and a handful of separate modules, it is easy to create a robust function generator that will provide a range of three waveforms around and beyond the audio spectrum.. The purpose of the article was to create a basic, cost-effective, open source frequency generator that is easy to construct and used by all hobbyists and lab professionals. In this video, we demonstrate a simple function generator built with a single chip, an LM324. This function generator outputs square, triangle, or sine waves
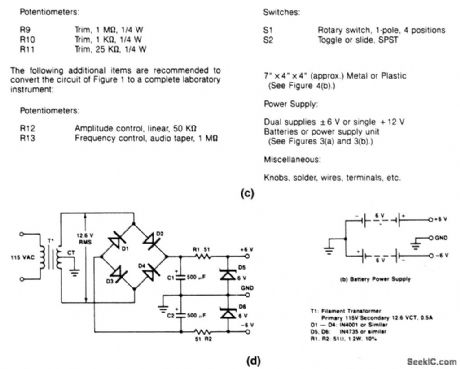
Learn how to make your own arbitrary waveform generator using an ATmega328p, a DDS function generator IC, an op-amp, a few passives, and some hard work. Related Articles: Microcontroller Design for an Arbitrary Waveform Generator. DAC Schematic Design for an Arbitrary Waveform Generator. DAC Output Circuitry for an Arbitrary Waveform Generator And this is how a function generator circuit can be built with an LM324 op amp chip. The function generator is pretty solid for all basic purposes, such as home use. The signals produced can be of very high quality. To see how this circuit operates in real life, see the video below. The relaxation oscillator driven by IC1A is the heart of this project, but the rest of the design is what makes this a function generator. The power supply is pretty standard. The 30V 15VA center-tapped transformer generates two equal and independent 15 volt sources when the two center pins are tied to ground.

How to Build a Simple Function Generator Circuit with an LM324 Op Amp Chip Circuit Diagram
The Basics of the Circuit. As mentioned above, a few simple physical input and output components control the signal that the Arduino generates. For that purpose, this project utilized two 20K Ohm potentiometers and two 10K resistors to build a voltage divider that will reduce the voltage from five volts to 3.3 V. Note that this may not be Afterwards I will then show you how to create a simple function generator, the analog and digital way. At the end I will then present you a DIY DDS function generator design which can (kind of) hold up to the commercial versions. Here you can find the schematic of the circuit as well as reference pictures of my finished perfboard
